
REPLACING REAR WINDOWS IN VEHICLES
Replacing Rear Windows in Vehicles: A Complex but Essential Task
Why Replacing Rear Windows Is Complex
1. Design Variations:
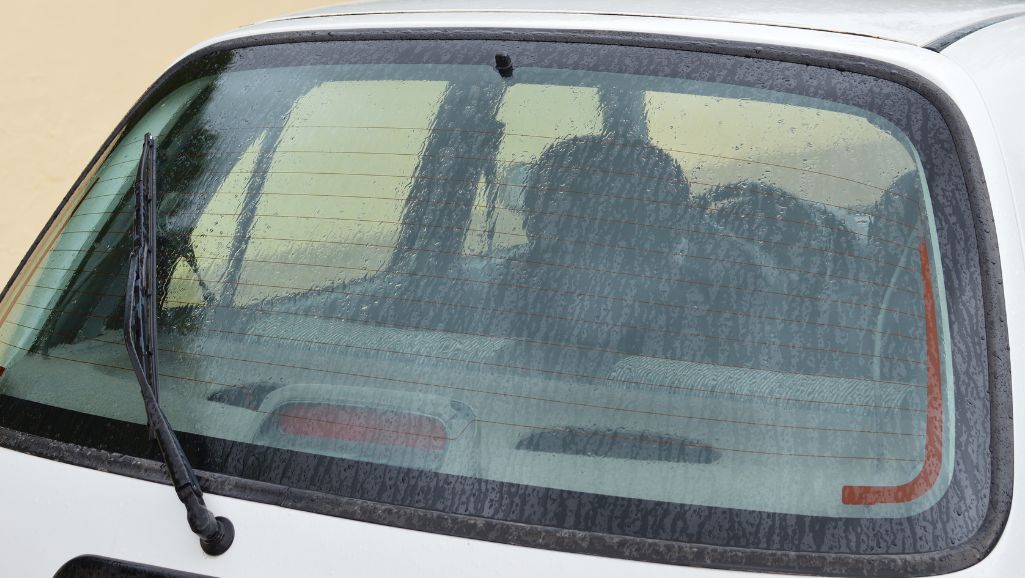
- Rear windows come in diverse shapes and sizes—flat on sedans, curved on SUVs, or panoramic on hatchbacks. Some feature spoilers or wiper assemblies, complicating removal and fitment.
- Example: A 2020 Toyota RAV4’s rear glass wraps around the tailgate, requiring precise alignment with the body’s contours.
2. Integrated Components:
- Many rear windows house defrosters (embedded heating wires), radio antennas, or sensors (e.g., rain sensors on luxury models). disconnecting and reconnecting these without damage adds steps.
- Example: A 2018 BMW X5’s rear glass includes a defroster grid and satellite radio antenna, necessitating careful electrical handling.
- Like front windshields, rear windows are glued in place with urethane adhesive for structural rigidity, not just held by rubber gaskets as in older cars (pre-1990s). Cutting through this sealant demands skill to avoid body damage.
- Interior trim (e.g., headliners, cargo panels) must be removed to reach the glass from inside, a process that risks breaking clips or scratching surfaces.
- Example: Replacing the rear window on a 2022 Ford F-150 requires dismantling the rear cab wall, a tight workspace.
- In hatchbacks, vans, and SUVs, the rear window contributes to torsional stiffness. Improper installation can weaken the frame or cause leaks.
- Example: A misaligned rear glass on a 2019 Honda CR-V could stress the tailgate hinges over time.
- Rear windows may be tempered (shattering into small granules when broken) or laminated (sandwiched with plastic for safety). Tempered glass dominates, but some high-end models use laminated glass, affecting cost and handling.
- Privacy tinting, often factory-applied, must match the replacement.
- Older vehicles (5-10+ years) may have rusted frames or degraded seals, complicating removal and requiring extra repair work.
The Professional Rear Window Replacement Process
1. Assessment and Preparation
- Damage Evaluation: Technicians inspect the broken glass and surrounding frame for cracks, rust, or dents that could affect the new installation.
- Parts Ordering: The exact replacement is sourced using the vehicle’s VIN—OEM (original equipment manufacturer) glass is preferred for fit and quality, though aftermarket options are cheaper.
- Safety Setup: The work area is cleared, and protective coverings shield the vehicle’s interior and exterior from debris or adhesive spills.
- Interior Disassembly:
- Remove rear trim panels, headliner edges, or cargo area liners to access the glass’s inner edge. This may involve popping off plastic clips (prone to breaking) or unscrewing fasteners.
- Example: On a 2023 Jeep Grand Cherokee, the rear cargo shelf and side pillars must come off.
- Electrical Disconnect: Unplug defroster wires, antenna leads, or sensors, labeling them for reconnection.
- Adhesive Cutting
- A cold knife or power tool (e.g., Equalizer Express) slices through the urethane sealant from inside, while a partner uses a wire saw or suction cups outside to guide the glass free.
- Care is taken not to bend the frame or nick paint.
- Glass Extraction: The old window is lifted out, and shattered pieces (if tempered) are vacuumed up. Laminated glass requires more effort to peel away.
- Cleanup: Old urethane is scraped off with a razor blade or rotary tool, leaving a thin layer (1-2 mm) for the new adhesive to bond to.
- Rust Treatment: Any corrosion is sanded and treated with primer or rust converter.
- Priming: A glass primer is applied to the frame’s bonding surface, enhancing urethane adhesion. This dries in 5-10 minutes.
- Fit Check: The replacement glass is dry-fitted to ensure alignment with the frame and mounting points.
- Edge Treatment: A ceramic frit (black border) on the glass is cleaned, and a primer is applied to its underside for bonding.
- Component Transfer: Defroster tabs, antenna wires, or wiper mounts are attached if not pre-installed.
- Adhesive Application: High-strength urethane (e.g., SikaTack or Dow Betaseal) is dispensed via a caulking gun in a continuous bead along the frame.
- Glass Placement: Using suction cups, the glass is positioned precisely—within 1-2 mm of factory specs—and pressed into the adhesive. Alignment is critical to avoid leaks or stress points.
- Securing: Tape or clamps hold the glass in place while the urethane cures (1-24 hours, depending on humidity and temperature).
- Electrical Reconnection: Defroster, antenna, or sensors are reattached and tested (e.g., defroster grids checked with a multimeter).
- Interior Restoration: Trim panels and liners are reinstalled, ensuring no rattles or gaps.
- Leak Test: Water is sprayed on the glass to confirm a watertight seal.
- Final Inspection: The glass is wiped down, and functionality (e.g., wiper operation) is verified.
Tools and Materials Required
-
Removal Tools: Cold knife ($20-$50), wire saw ($15), Equalizer power cutter ($300- $500), suction cups ($30-$60).
-
Prep Tools: Razor blades, scrapers, sandpaper (80-120 grit), vacuum, rust converter ($10-$20).
-
Adhesive System: Urethane caulk ($15-$30 per tube), caulking gun ($20), glass/frame primers ($10-$20 each).
-
Installation Aids: Masking tape, alignment spacers, work gloves, protective goggles.
-
Diagnostics: Multimeter ($20-$50) for electrical checks, flashlight for leak detection.
-
Replacement Glass: $100-$300 (sedan), $200-$500 (SUV/truck), depending on OEM vs. aftermarket.
Challenges and Potential Pitfalls
- Breaking Trim Clips: Fragile plastic fasteners snap easily, requiring replacements ($5-$20 per set).
- Electrical Damage: Mishandling defroster wires can short circuits, costing $50-$150 to repair.
- Improper Sealing: Too little adhesive leads to leaks; too much squeezes into the interior, staining trim.
- Alignment Errors: Off-center glass causes wind noise, water ingress, or structural weakness.
- Tempered Glass Hazards: Shattered pieces are sharp and hard to clean fully without professional vacuums.
- Weather Dependence: Urethane won’t cure below 40°F or in high humidity without heat-assisted setups.
Benefits of Professional Replacement
- Expertise: Pros navigate tight spaces and electrical systems without collateral damage.
- Quality Materials: OEM glass and high-grade urethane ensure durability (5-10+ years).
- Warranty: Shops offer 1-5 year guarantees against leaks or defects, absent in DIY work.
- Safety: Proper bonding maintains structural integrity, critical in rollovers.
- Cost Savings: Avoiding mistakes (e.g., cracked frames) offsets the $200-$500 service fee versus $1,000+ for botched DIY fixes.
Costs and Considerations
- Price Range: $200-$500, averaging $300 nationwide (U.S., 2025).
- Sedans: $200-$350 (e.g., 2017 Honda Accord).
- SUVs/Trucks: $300-$500 (e.g., 2021 Chevy Tahoe).
- Factors: Glass type (tempered vs. laminated), labor rates ($75-$150/hour), and extras like defroster repair ($50-$100).
- DIY Alternative: $150-$300 for parts, but risks escalate without experience.
Time: 1-2 days total, including drop-off, work, and cure time. Mobile services ($50-$100 extra) offer convenience.
When Replacement Is Necessary
- Shattered Glass: Tempered glass breaks into granules—repair isn’t an option.
- Large Cracks: Fissures over 6 inches compromise safety and visibility.
- Defroster Failure: If tied to glass damage, replacement beats splicing wires.
- Leaks: Persistent water entry signals a failed seal, often requiring new glass.
Post-Replacement Care
- Cure Time: Avoid driving for 1-24 hours (per adhesive specs) and keep windows up to prevent pressure shifts.
- Cleaning: Wait 48 hours, then use mild soap—not ammonia-based cleaners that degrade urethane.
- Monitor: Check for leaks or rattles after rain; report issues within warranty periods.
Conclusion
Replacing a rear window in a vehicle is a complex dance of precision, patience, and technical know-how, driven by design intricacies, adhesive challenges, and integrated features. For older cars or those with shattered back glass, professional replacement—averaging $300—ensures safety, functionality, and peace of mind that DIY rarely matches.
Whether it’s a sedan’s flat pane or an SUV’s curved hatch, entrusting this task to experts sidesteps pitfalls like leaks or electrical woes. If your rear window’s time has come, don’t gamble with makeshift fixes—let a pro like us restore your vehicle’s rearward gaze, keeping the road behind as clear as the one ahead.